Choosing a Fine Pitch LED Display is not just a matter of selecting the smallest pixel pitch. It means matching resolution, viewing distance, brightness, and budget to the room. A control room has different demands from a retail atrium. So does a broadcast studio. The details matter.
Industry research helps frame the decision. TrendForce’s LEDinside market reports track fine-pitch LED adoption across applications and regions, highlighting continued development in corporate, control-room, and commercial environments. Grand View Research’s LED Display Market report also documents broader market growth, though market forecasts do not guarantee that a particular product will perform well. Buyers still need to verify specifications, service access, and long-term support with suppliers.
DisplayMate founder Dr. Raymond Soneira’s display-testing work points to a useful principle: assess image quality under real viewing conditions, not from a specification sheet alone. That is especially relevant when comparing cabinets with similar pixel pitches. Ask for a live demonstration at the intended viewing distance. Check whether small text stays sharp, colors remain consistent, and the screen avoids distracting reflections under your actual lighting. Look closely.
This guide will help you compare pixel pitch, resolution, brightness, refresh rate, color performance, installation needs, and total cost of ownership. It will also flag a common trap: choosing the highest specification without checking whether the room needs it. A fine pitch can improve close-up clarity, but it may add cost and complexity. The best choice is the one that fits the space, content, and maintenance plan—and can be verified before purchase.
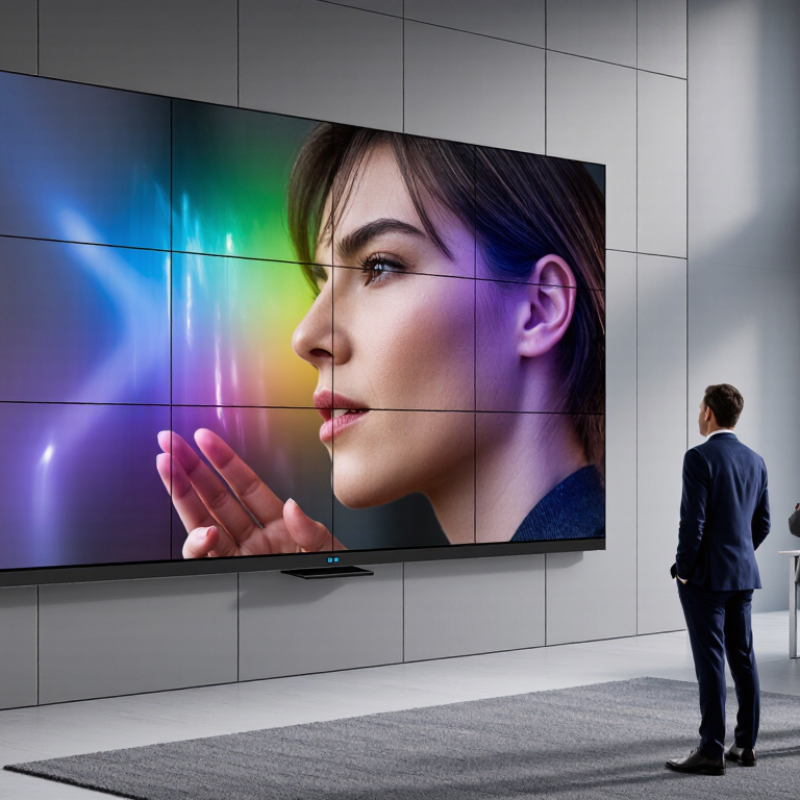
How to Choose a Fine Pitch LED Display?
Define the Intended Use and Viewing Conditions
Before choosing a fine-pitch LED display, decide what viewers need to see and do. A control-room operator reading small labels has different needs from a passerby watching large graphics. Measure the nearest and farthest viewing positions, and note whether people sit, stand, or move past the screen. A display that looks crisp up close may be unnecessarily costly in a distant lobby.
Match pixel pitch to actual viewing distance, not just the smallest available specification. As a geometric rule of thumb, a 1 mm pixel pitch subtends roughly one arcminute at about 3.4 metres; this is a guide, not a universal comfort threshold. AVIXA’s ANSI/INFOCOMM V202.01:2016 standard uses viewing angles of 20° for basic decision-making and 30° for analytical tasks. Those figures help size the image, but content, eyesight, and room layout still matter.
Tips: Measure ambient light at the screen, including sunlight near windows. Check sample content from the closest seat. Small text can expose visible pixel structure. Brightness specifications alone can mislead; reflections and dark content affect legibility too. Record the room conditions, then test a sample display. Sometimes the planned viewing distance changes.
Match brightness to the room, not just the specification sheet. Sunlight through glass can wash out the image. Check the screen under real lighting. More brightness is not always better.
Pixel pitch and viewing distance work together. A 1.5 mm pitch may look crisp nearby, but offer little benefit across a large auditorium. Measure the closest viewing position.
Test the material people will actually view. Small text and detailed charts reveal gaps that video may hide. This step is often rushed.
Request measured color-gamut coverage and calibration details. “Vivid color” alone does not show how accurately the display reproduces product images or maps.
Ask for the stated refresh rate, then test moving text and camera footage at the intended settings. Watch for flicker or motion artifacts. Specifications can miss these.
Measure the full area, including cabinet depth, cable bends, ventilation gaps, and technician access. A narrow lobby may leave too little room for rear servicing.
Check sunlight, dust, humidity, and temperature at the screen location. Nearby air-conditioning vents can create uneven conditions. Match enclosure protection to the actual site.
Check whether modules can be removed from the front or need rear access. Ask about replacement procedures, spare parts, and temperature limits. Use a tape measure on site; drawings can miss obstructions.
No. L70 describes when light output reaches 70% of its initial level. Heat, drive settings, and usage also matter. I may still be underestimating site conditions.
Choosing a Fine Pitch Led Display starts with understanding where it will be used and how viewers will experience it. Consider the viewing distance, room size, lighting, audience, and type of content. Pixel pitch should suit both the expected distance and the level of image detail required: a closer audience or fine text may call for tighter pixel spacing, while larger viewing distances may allow a wider pitch.
Next, compare brightness, resolution, color performance, and refresh rate against the needs of the space and content. Check that the display fits the installation area and can operate reliably in its environment, with practical access for maintenance. Before making a decision, ask suppliers about product testing, technical assistance, installation guidance, and ongoing service. Comparing the full ownership cost—not just the purchase price—can help identify a display that delivers suitable image quality, dependable operation, and manageable upkeep over time.